

How Can I Play Youtube Video In Unreal Engine
Streaming Video in Unreal Engine 4 — Part i
Fortnite recently held a live event where episodes of Punk'd were played on-screen at Risky Reels. I am always intrigued past live in-game events, and wanted to learn a lilliputian more than most how an event similar this actually works.
Setting Up The Scene (Optional)
For this tutorial, I am going to exist using the Third Person template provided by the engine. Before we get into how to ready video streaming, I would similar to make this fun and create an extremely simplified version of Risky Reels. To create your very own Risky Reels, drag three Cube static mesh actors into the scene. I scaled my screen mesh to X: 2.0, Y: 50.0, and Z: xxx.0. This makes a fairly big object within the scene that tin exist viewed from a far altitude. I as well added beams to hold the screen up. I scaled the ii cube mesh to X: 1.0, Y: 1.0, and Z: iv.five.
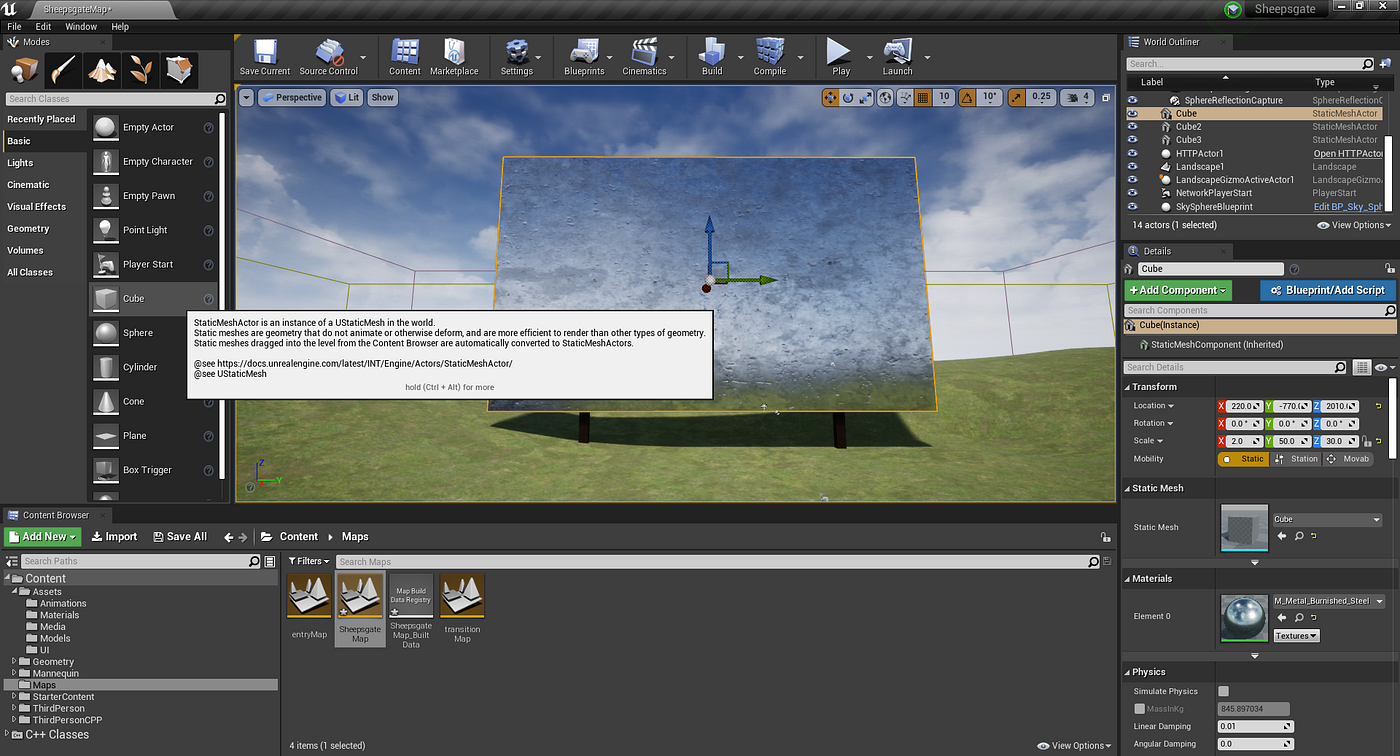
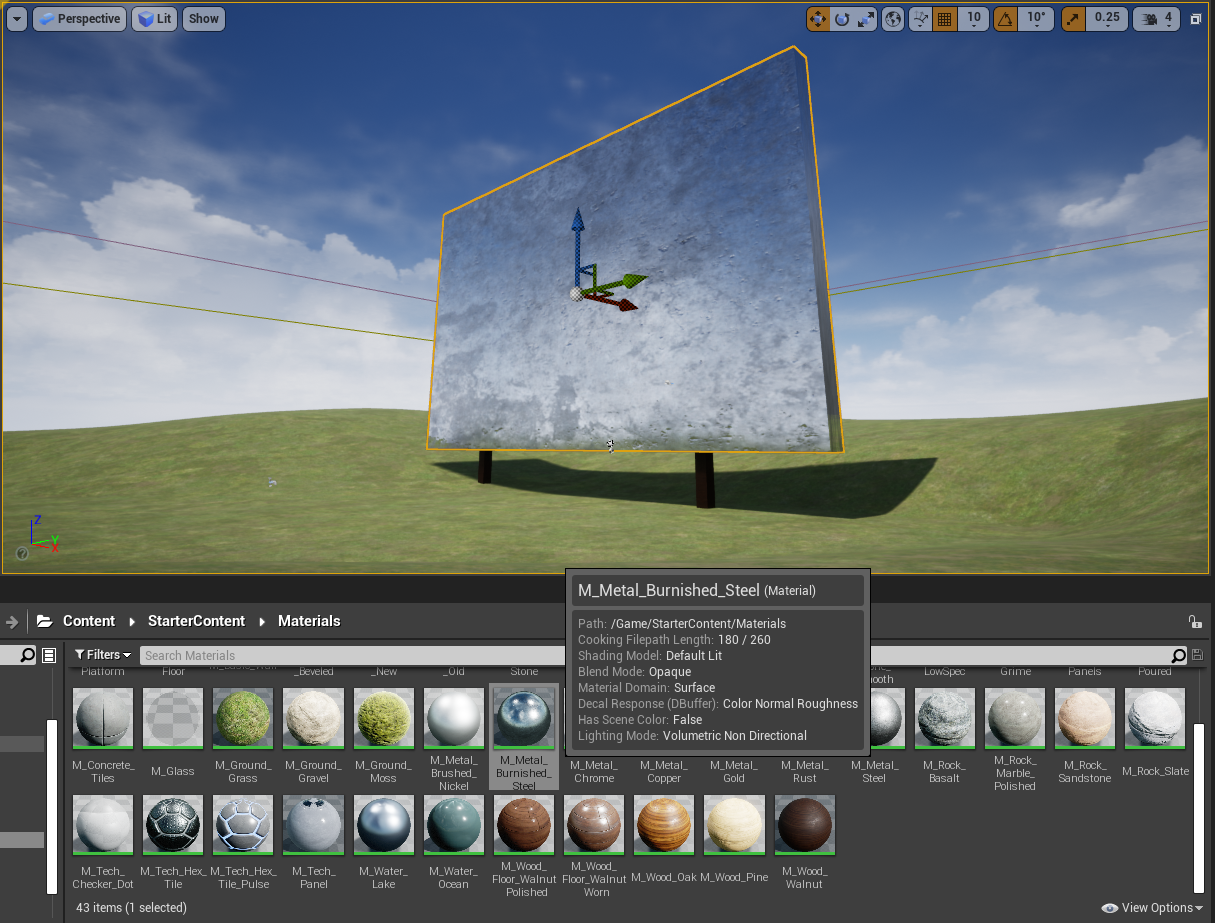
And just for fun, I practical the M_Metal_Burnished_Steel material to my screen and the M_Wood_Walnut material to the beams.
Time to ready up the video stream!
Creating The Video Stream
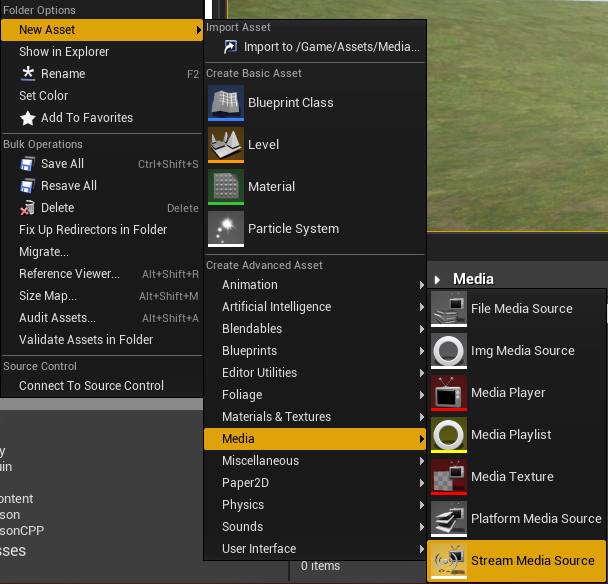
I am going to create a new folder in my Avails folder called Media. To do this, right click on the Assets binder and click New Binder. Proper name this new binder Media. This is where we volition create all of the components related to the video stream. Now, right click on the Media folder y'all but created and click New Asset -> Media -> Stream Media Source. This will create a Stream Media Source object where we will specify the URL of the video that volition be streamed. I am going to telephone call this media source UnrealMediaSource, merely you can proper noun it whatever you lot like.
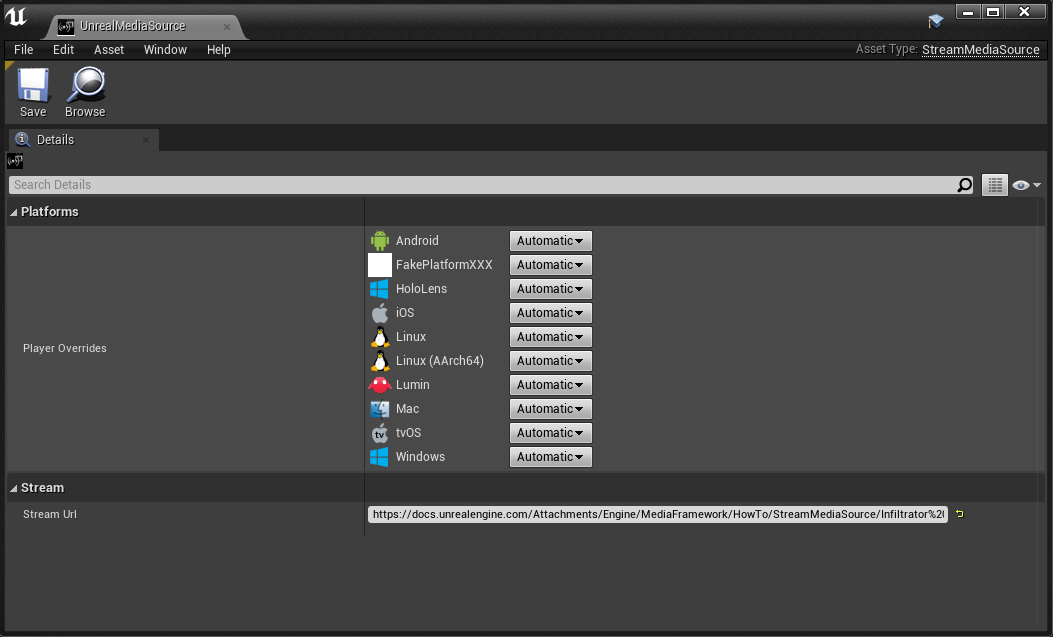
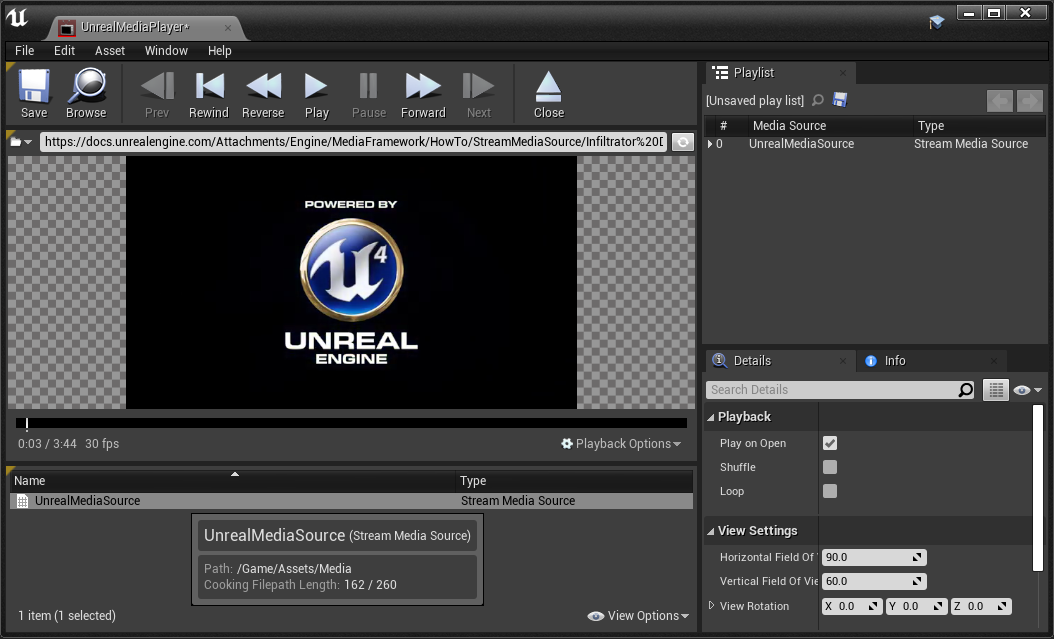
After the Stream Media Source asset has been created, double click it to edit its properties. The property we care about is Stream Url field. Paste the link I provided at the start of this tutorial into the Stream Url field and click Salve.
Now right click on the Media folder again and click New Asset -> Media -> Media Player. This will create a new Media Player asset that will display the video within the game scene.

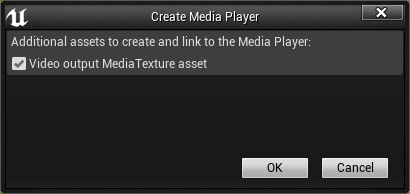
A Create Media Player popular-up volition appear. Click Video output MediaTexture asset. Selecting this check box tells the engine to create a new MediaTexture that the video will be rendered on.
Later the Media Source has been created, double click on information technology and then select the Stream Media Source we created earlier. The video should start playing and await similar to the screen shot below.
Now that we know the video stream is working, information technology is fourth dimension to add it to our scene.
Playing The Stream Within The Scene
To add the video stream to our scene, nosotros must kickoff create a static mesh where we tin can apply the Media Player texture. Because we are creating a screen, we can apply a Plane mesh.
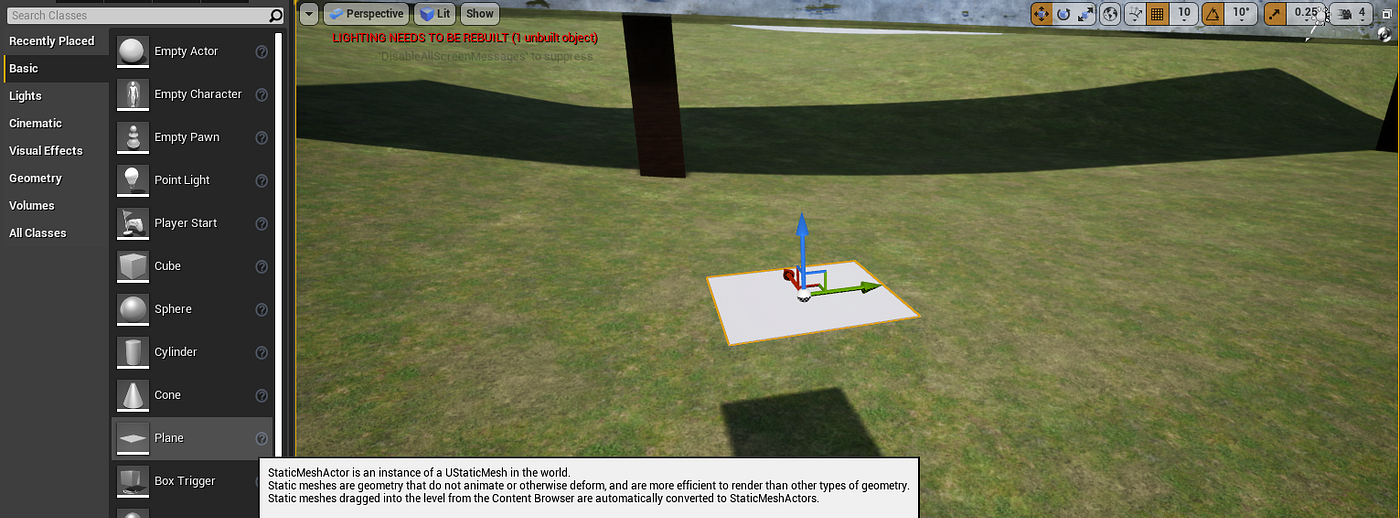
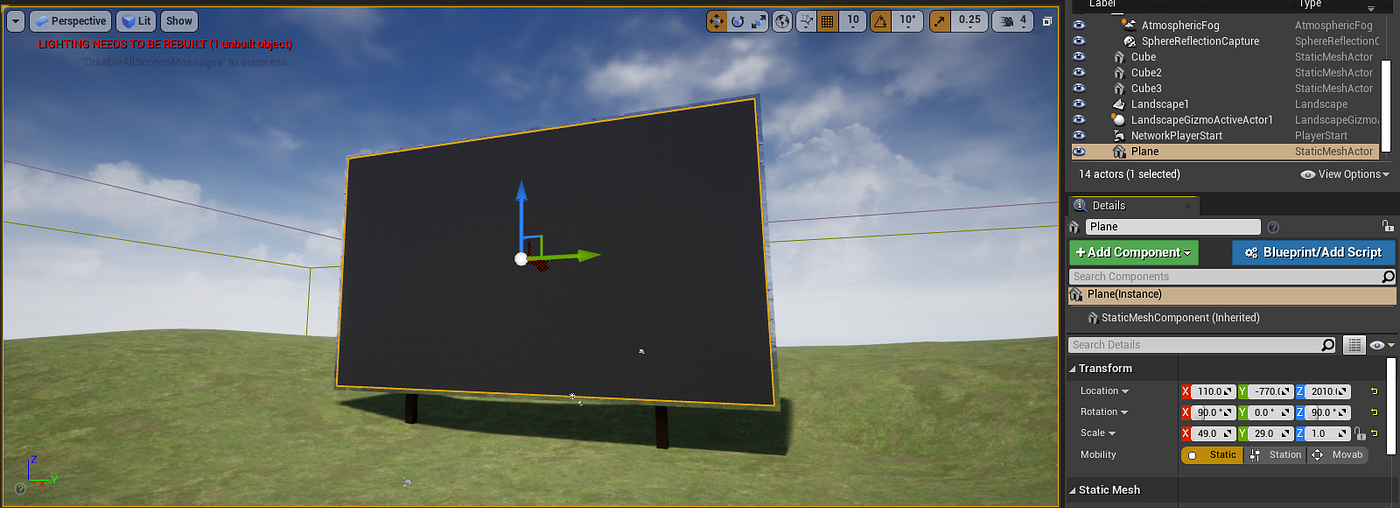
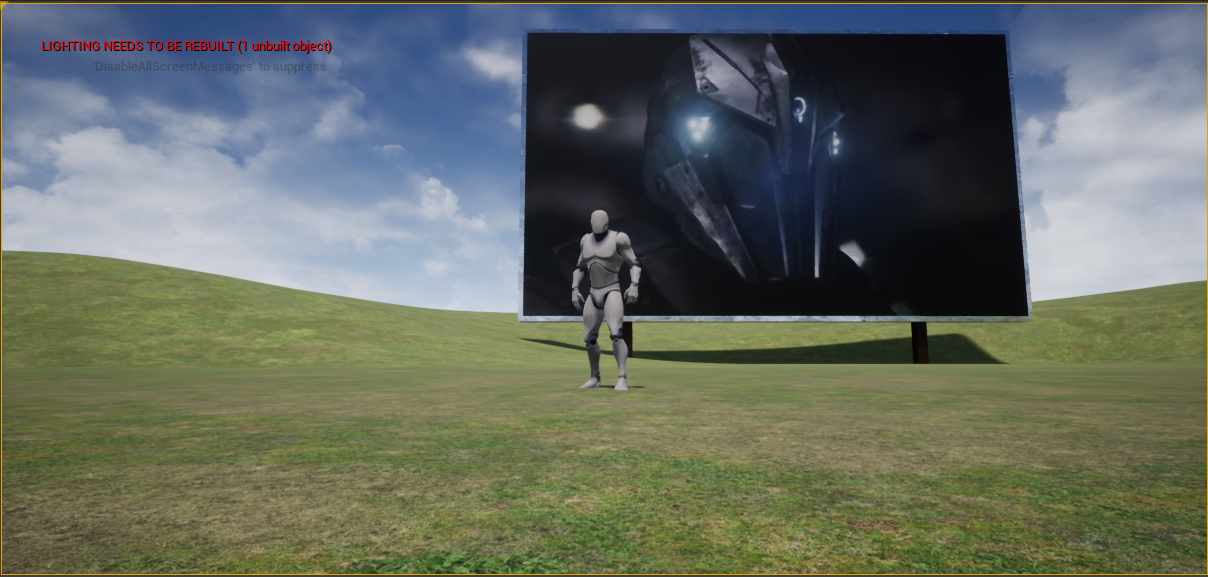
Elevate the Aeroplane mesh into the scene and adjust the rotation and calibration then that it fits onto the screen nosotros created before. I have set the Airplane's rotation to X: 90.0, Y: 0.0, and Z: ninety.0. I have also scaled the Plane to 10: 49.0, Y: 29.0, and Z: 1.0. This volition make the Plane big enough to fit the entire screen mesh without going over the sides. Now drag the mesh to line upward in front of the screen. After the Plane mesh is lined up, drag the Media Player texture onto the Airplane mesh. This will apply the media texture to the mesh. Your scene should look like the screen shot below.
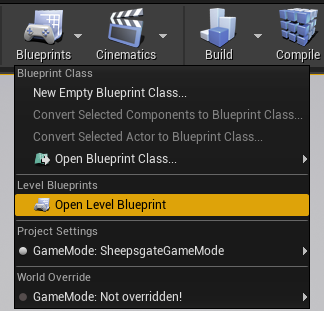
Afterwards the media texture has been applied, information technology is time to create a uncomplicated Design to get-go the video stream when the game begins. To open the level Blueprint, click Blueprints -> Open Level Blueprint.
At present create a new variable chosen MediaPlayer. Nosotros will change this variable'due south type to a Media Player Object Reference by searching for Media Player under Variable Types and selecting Object Reference from the Media Player Object Type. You lot will now see that your variable has changed to a Media Player Object Reference.

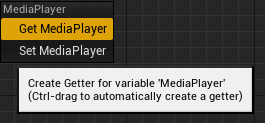
Drag your MediaPlayer variable into the Event Graph and select Get MediaPlayer. This volition let u.s.a. to select the Media Histrion we created earlier in the tutorial.
Click on the MediaPlayer variable and click on the Media Player drop-down and select the Media Player that you lot created.

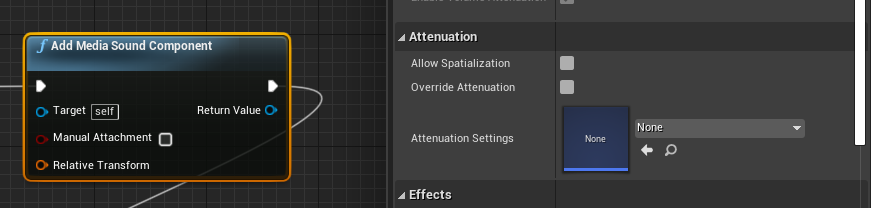
Now right click on the Issue Graph and search for BeginPlay. Select Event BeginPlay and add to the Upshot Graph. Right click again and search for Add Media Audio Component. Select the Add Media Audio Component node and create a connection from Consequence BeginPlay to the Add Media Sound Component node. You volition also need to select the Media Player nosotros created so that the video stream's sound volition play when the video plays.

Now create a connection from the Media Histrion variable and search for Open Source. Select Open Source and create a connection from the Add together Media Sound Component node to the Open Source node. Click Open Source and select the Media Source drop-downward. Select the Stream Media Source nugget created earlier. Now compile and save the blueprint.

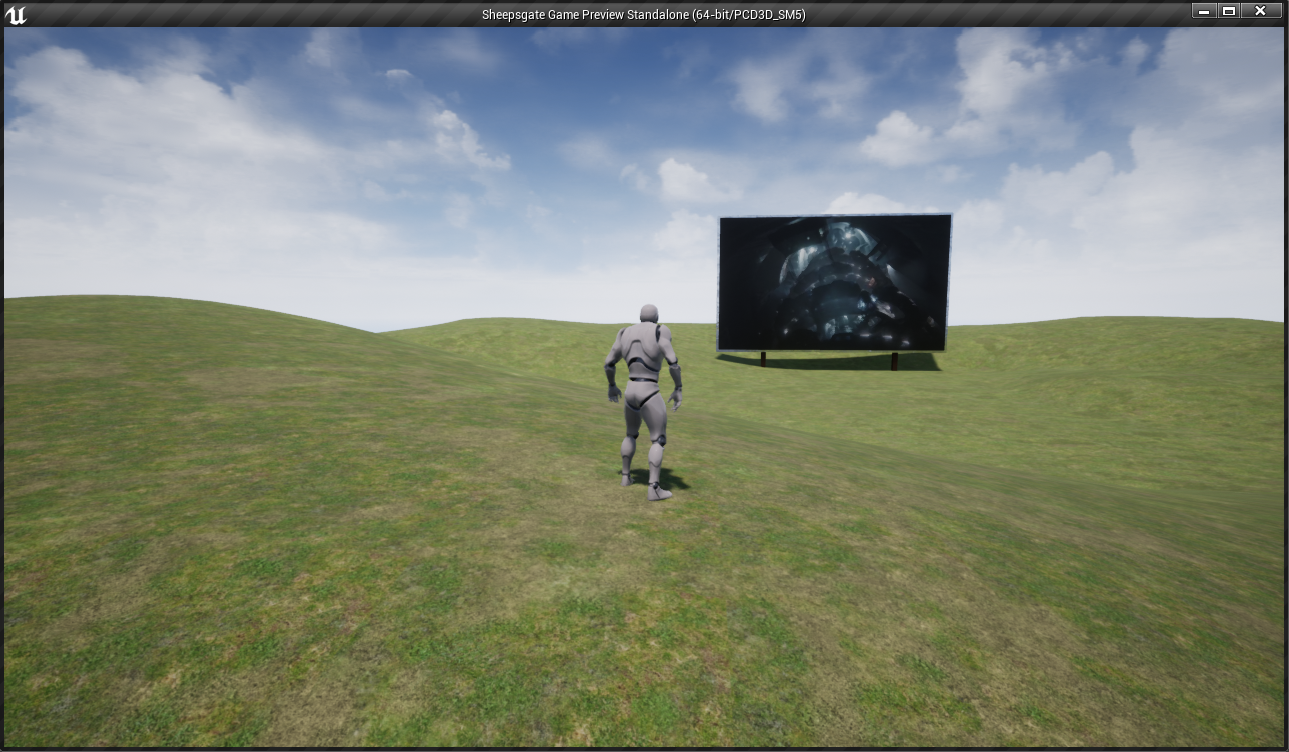
Now it is fourth dimension to test. Click play and the video should brainstorm playing on the screen within the scene. You should also hear the sound as well.

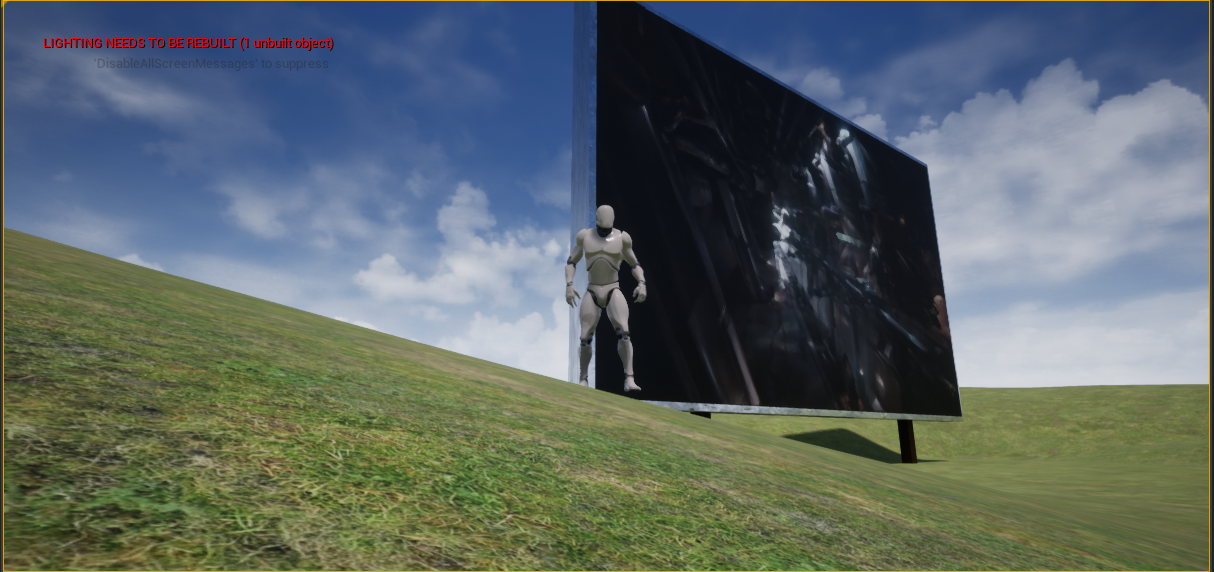
Congratulations! We take a working video stream within our game. Now allow's add some audio attenuation to brand the scene a lilliputian more realistic so that the sound fades out equally we movement abroad from the screen and fade in every bit nosotros motion toward to the screen.
Adding Sound Attenuation
Attenuation — the reduction of the force, upshot, or value of something.
https://docs.unrealengine.com/en-United states/Engine/Sound/DistanceModelAttenuation/index.html
To add audio attenuation, open up up the level Blueprint and select the Add Media Sound Component node.
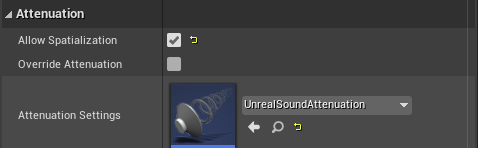
Scroll downwardly until you see the Attenuation settings. Click on the drib-down and select Sound Attenuation nether Create New Nugget. You will be prompted to select a folder to place the Sound Attenuation nugget into. Identify this asset into the Media folder. Make sure the Allow Spatialization check box is clicked also. We need to compile the Design because nosotros updated the Add Media Sound Component node. We have at present created a Audio Attenuation nugget that will be used to configure audio attenuation inside our scene.

To edit Sound Attenuation inside the scene, double click the Sound Attenuation asset we just created. Under Attenuation Distance, alter the Attenuation function to Natural Sound. This will create an effect that sounds adequately realistic as our grapheme moves toward and away from the audio source.

Because this is a fairly big screen, I decided to prepare the Inner Radius to 5000.0 and Falloff Altitude to 10,000.0. This gives the event that at that place are big speakers playing the audio and that it tin be heard from a relatively large altitude.

Conclusion
And that is all for Part 1 of this tutorial. In Office 2, I will cover replication of the video stream. This will permit multiple clients to connect to a dedicated server in AWS and run into the video stream in existent-time. Until then, thanks for reading!

Source: https://medium.com/@lukebrady105/streaming-video-in-unreal-engine-4-part-1-d4fa0c924aa
Posted by: grahamprinag1964.blogspot.com
0 Response to "How Can I Play Youtube Video In Unreal Engine"
Post a Comment